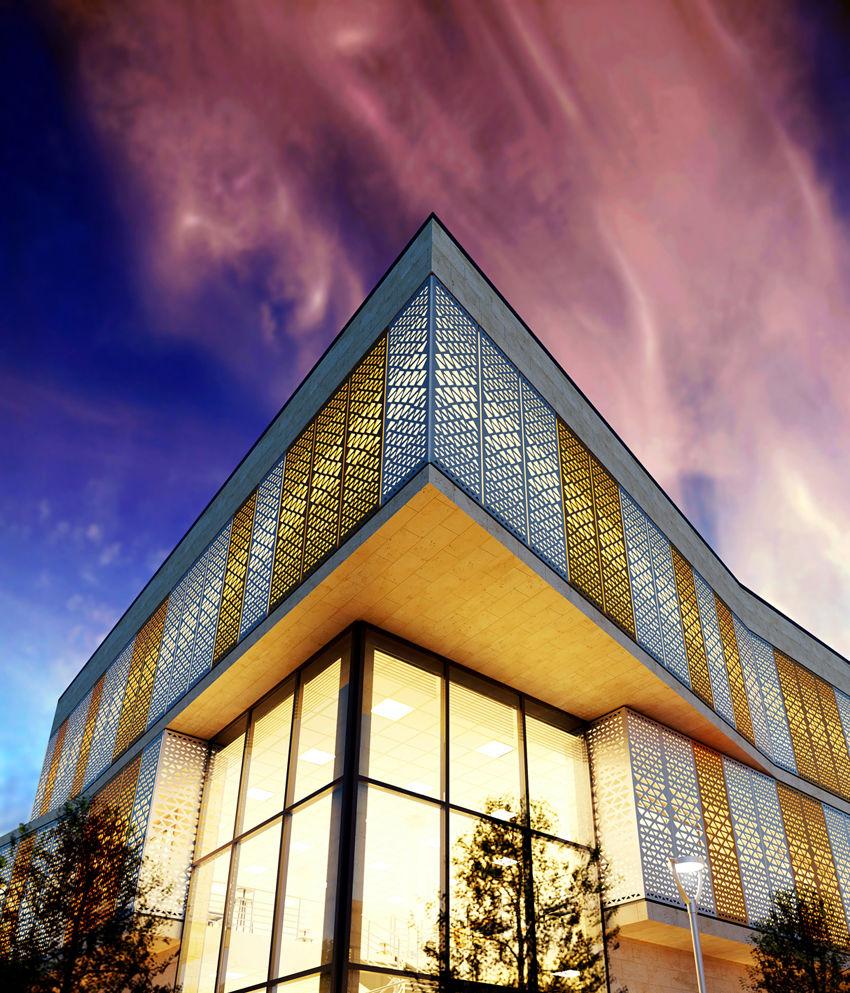
They say a picture is worth a thousand words, which has never been truer than in the building industry. Never before has technology been so powerful such that it allows designers to showcase their work. What was once only available to those who had the amazing skill of producing hand renderings has blossomed with technological advancements to be available to everyone no matter their skill level. Autodesk has made it exceptionally easy to produce high quality images. With their built-in Revit rendering feature, you are set up for success from the start. After modeling a building, with just a few easy adjustments in the settings, Revit rendering allows for great results. Here is a quick overview of that process as well as a few tips, tricks, and best practices.
The key to a quality Revit rendering is materials and lighting. Having high quality materials, many of which are built into Revit, will make or break an image. Having photorealistic materials gives the viewer a real-world look into your design.
Lighting, along with shadows, is also key. Setting up the sun location as well as any artificial lights will greatly enhance the results of a Revit rendering and provide depth as well as realism to your image. As with anything, practice makes perfect with these settings. If one relies on their real-world experience, adjusting materials and lighting will become a breeze.
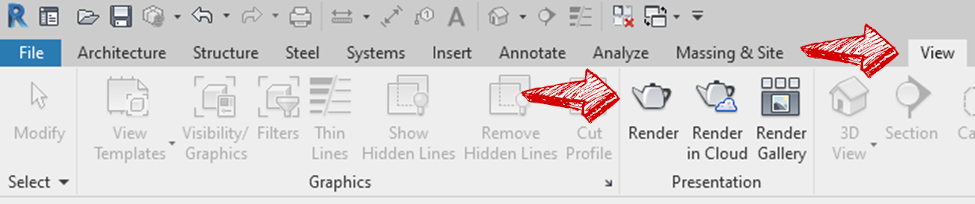
After modeling your building and setting up the desired view, the rendering process begins. Simply clicking the View tab followed by the Render icon, the dialog box for the render settings will appear.
Many rendering programs can be overwhelming with all of the settings associated with it.
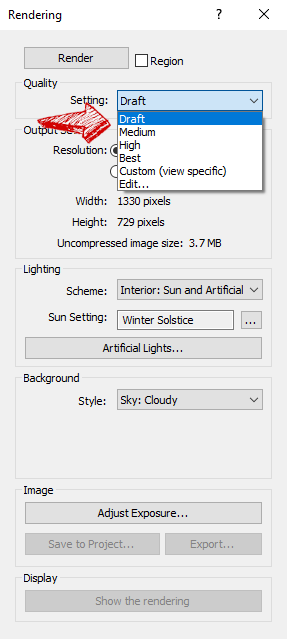
The Revit rendering tool keeps it simple but also provides great results. As the Revit rendering dialog box appears you can see that all the functions are very self-explanatory, providing just the tools you need.
The first setting to take note of is the Quality drop down menu. It is recommended that you start off running the rendering as a draft. This will give you a quick view of materials, lighting, and composition to see what adjustments need to be made. Once you’ve achieved the desired results as a draft, then you can work your way up to High or even Best, to produce a top quality image.
The output settings determine how large and how many pixels the Revit rendering will have. The larger the image the longer a Revit rendering will take. Start small and only render a large image when you are ready for final output.
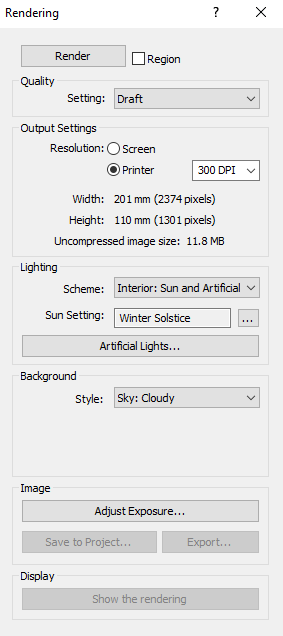
In the lighting section you are able to pick and choose different lighting schemes. These can be interior or exterior and range from “Sun only” to “Artificial only” to “Sun and Artificial” lights. In the sun settings dialog box you have the option to do a sun study, set the location, date and time, and choose a solstice or equinox. You can also make adjustment to your artificial lights.
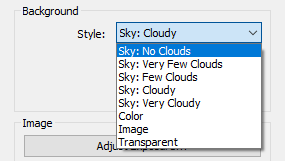
The background settings allow you to change the sky appearance of your Revit renderings. These range from no clouds to very cloudy, to a selected color, an image or even a transparent background to place your own image in Photoshop. The background feature allows you to achieve the exact desired results.
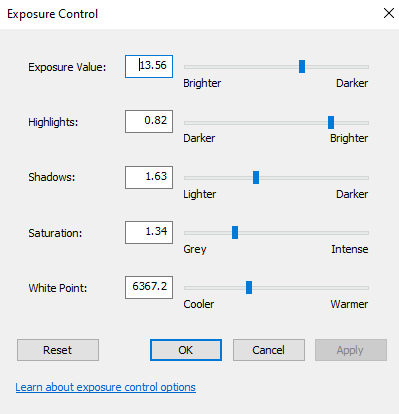
The image settings provide a powerful tool to adjust the image exposure in either pre or post-production, saving you the time of having to work in Photoshop. Play with these settings until you achieve your desired results. You can also save to project or export to an image file.
As with anything, practice makes perfect, so don’t be afraid to jump in there and play with different settings to see exactly what they do and to achieve the perfect rendering.
It can feel a little daunting to start out in the world of Revit rendering, but the feature is one that takes the difficulty out of creating beautiful, photo-realistic images. As an architect I have seen the delight of a client as I’ve shown an amazing rendering of their space and how that can change their perspective on the design. Gone are the days where we have to only rely on 2D line drawings to tell the story of a building. With BIM and Revit rendering, no question has to be left unanswered.