
Revit hatch patterns, officially known as Fill Patterns, are a critical graphical element when developing drawings in Revit. They can help denote the material of an element, differentiate a section cut from the surface of an element, and even help identify that an element is of special interest like a clearance area for a piece of equipment.
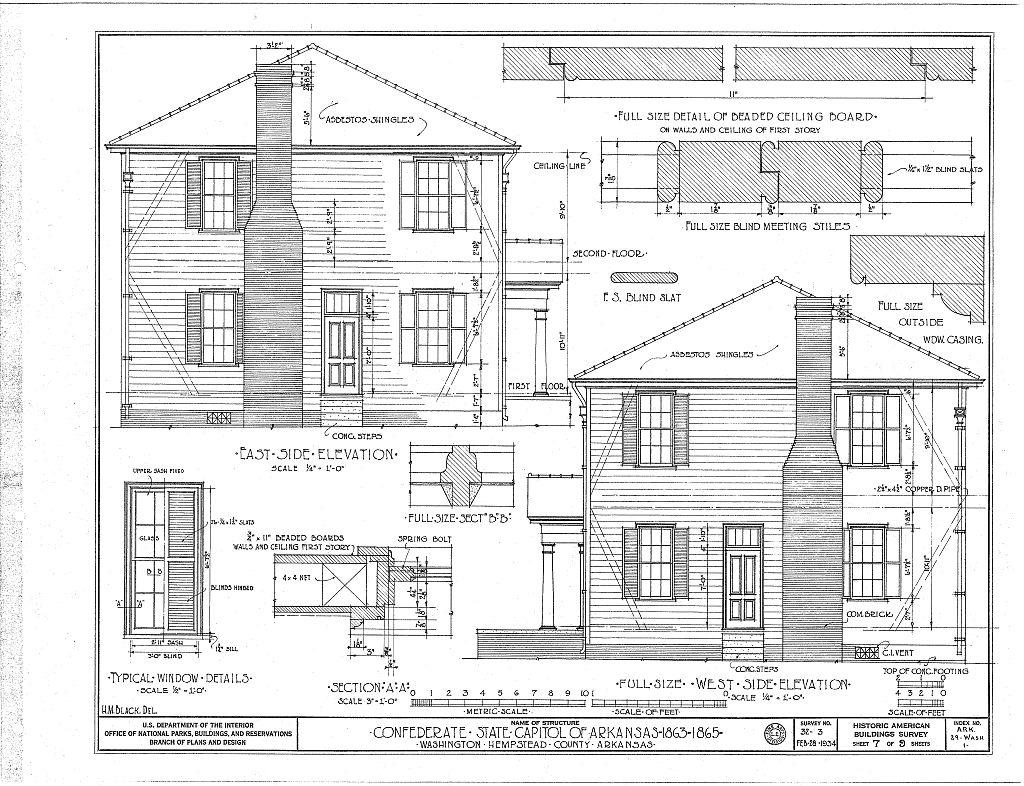
Hatch patterns have been used in technical illustration since we were drafting with pencils on paper. Check out the drawing of the Confederate State Capitol of Arkansas below. How many hatch patterns do you see?
Drafting vs Model Fill Patterns
If you’ve been exposed to fill patterns in Revit, you may have noticed that there are two types of Revit hatch patterns, drafting patterns and model patterns. The difference is model patterns remain a fixed size relative to the model, and drafting patterns remain a fixed size relative to the scale of the view that is displayed in.
An example of the different use cases for each is a brick pattern on the face of a wall versus a crosshatch pattern on a wall.
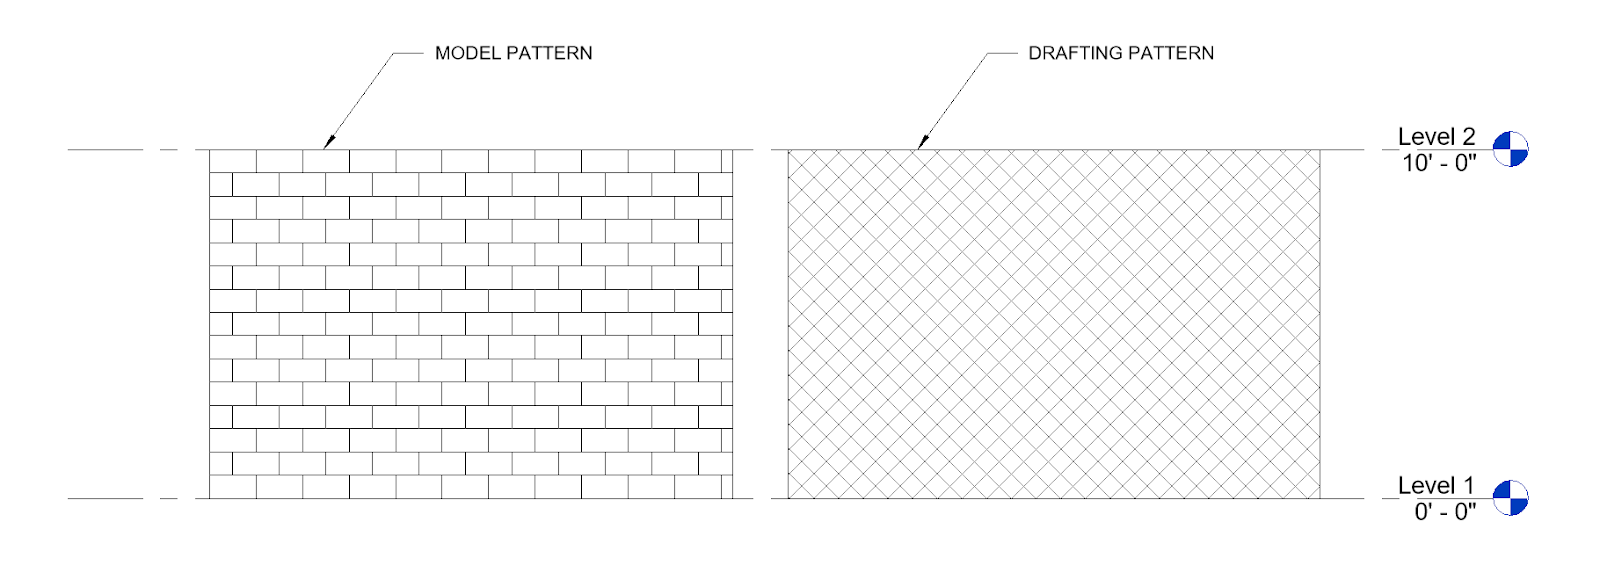
Revit hatch patterns at 1/4” = 1’-0” scale.
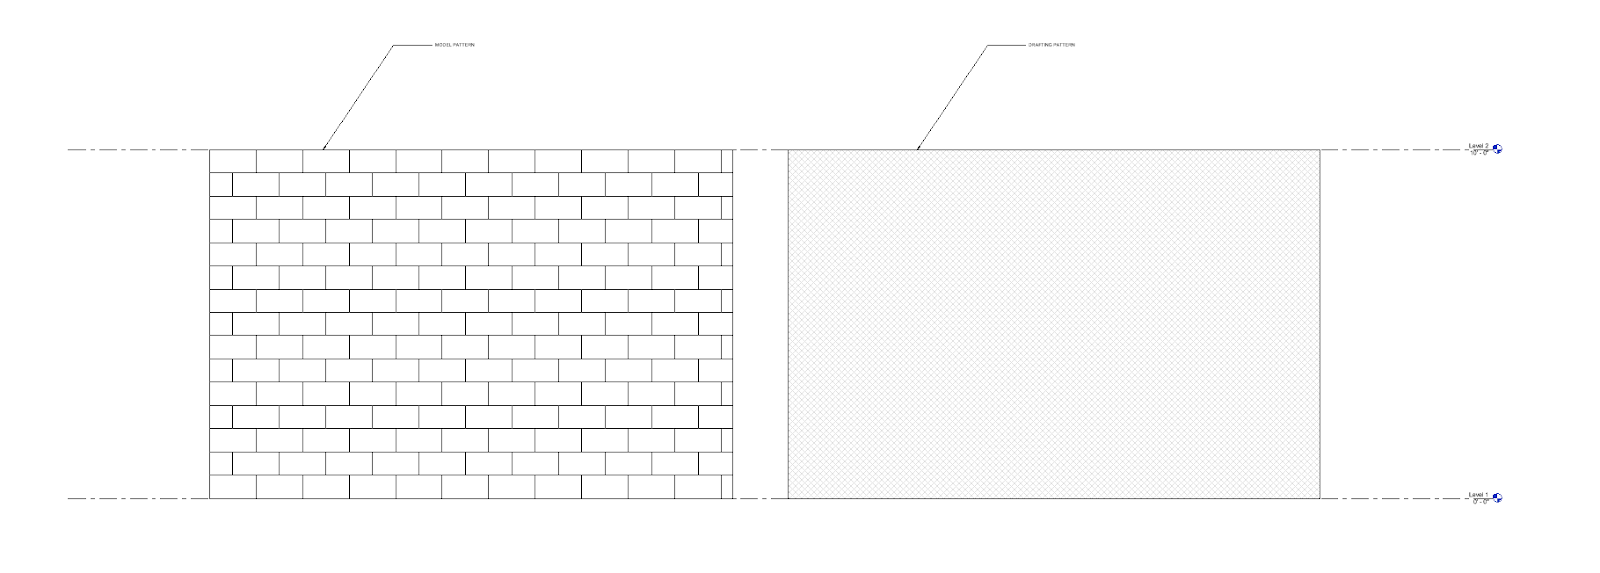
Revit hatch patterns at 1” =1’-0” scale.
As shown in the examples above, the diagonal hatch pattern (drafting pattern) changes based on the drawing scale while the brick hatch pattern (model pattern) remains the same. This is exactly as a user would expect as bricks should not change size based on the scale of a drawing. The pattern should maintain it’s dimensions as a model element does, hence the name “model pattern”.
Creating Revit Hatch Patterns
For those of you who have a background in AutoCAD, you’ll be happy to know that Revit supports hatch patterns from AutoCAD DWGs. There are few techniques out there to help you get AutoCAD hatch patterns in Revit – some of which are as simple as importing a CAD file to Revit and then exploding it. (For the record, I’m not necessarily supporting the process of exploding imported CAD files!)
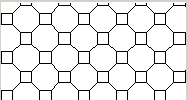
If you are good with numbers, you can actually create your own Revit Hatch Pattern in your favorite text editor (I recommend Sublime Text). If you really would like to learn to generate Revit hatch patterns from scratch, I would recommend following the Create a Custom Pattern File on the Autodesk Knowledge Network. It will guide you through building the hatch pattern below using nothing but plain text.
Applying Fill Patterns to Elements
There are a number of ways to apply Revit hatch patterns to elements within Revit, but in this post I’ll only cover how to manage them from the Visibility/Graphics Override settings.
Let’s go back to my wall example. In the image below, you can see a wall that I have modeled (there is also a section box shown in blue lines).
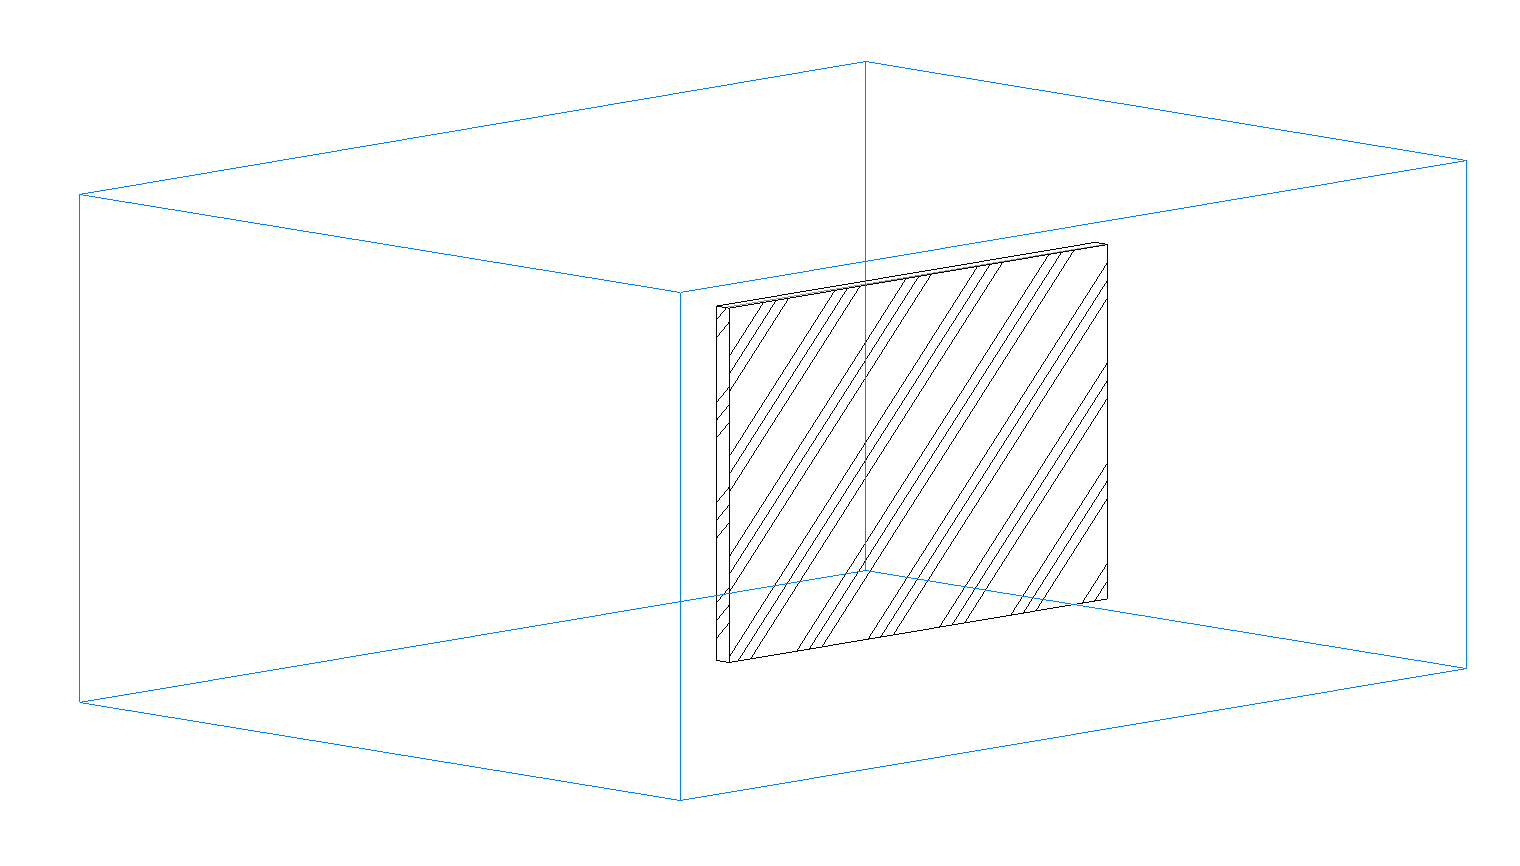
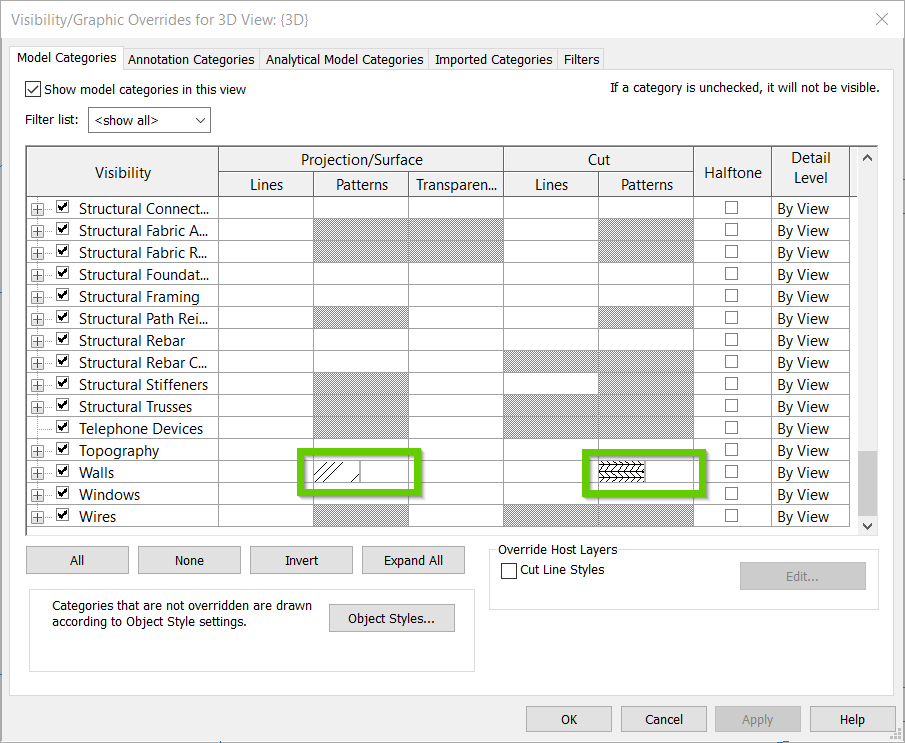
You’ll notice that I already have a Revit hatch pattern applied to the surface of the wall. In the image below, you can see that I also have a fill pattern assigned to the cut of the Walls model category.
To get the cut fill pattern to display on this wall, I’ll need to modify the section box to cut into the wall element in this view.

With the section box cutting into the wall, you can now see the Revit hatch pattern that I’ve assigned to a cut face of this element.
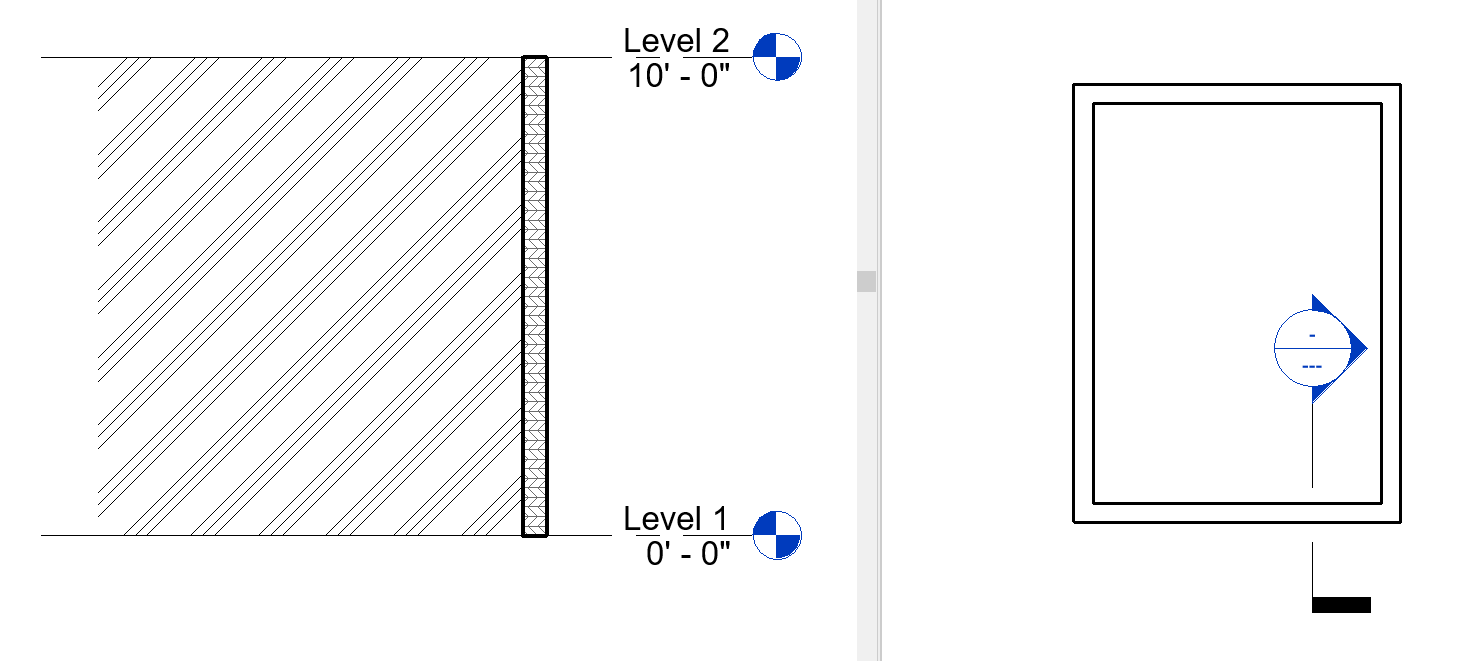
From a 2D drawing perspective, this type of differentiator is invaluable when reviewing sections of walls, floors, and other elements. In the example below, you can see that I have a section cut through a wall which also displays the surface of the perpendicular wall. Without hatch patterns it would be difficult for the plan reviewer to understand this drawing.
Conventionally, it can be difficult to standardize and maintain Revit hatch patterns because like Revit families, there isn’t an elegant out-of-the-box way to manage them from within Revit. They can be stored as .pat files, however we see the same issues with managing any filetype in a Windows file/folder structure; there is a lack of metadata and versioning (amongst other shortcomings).
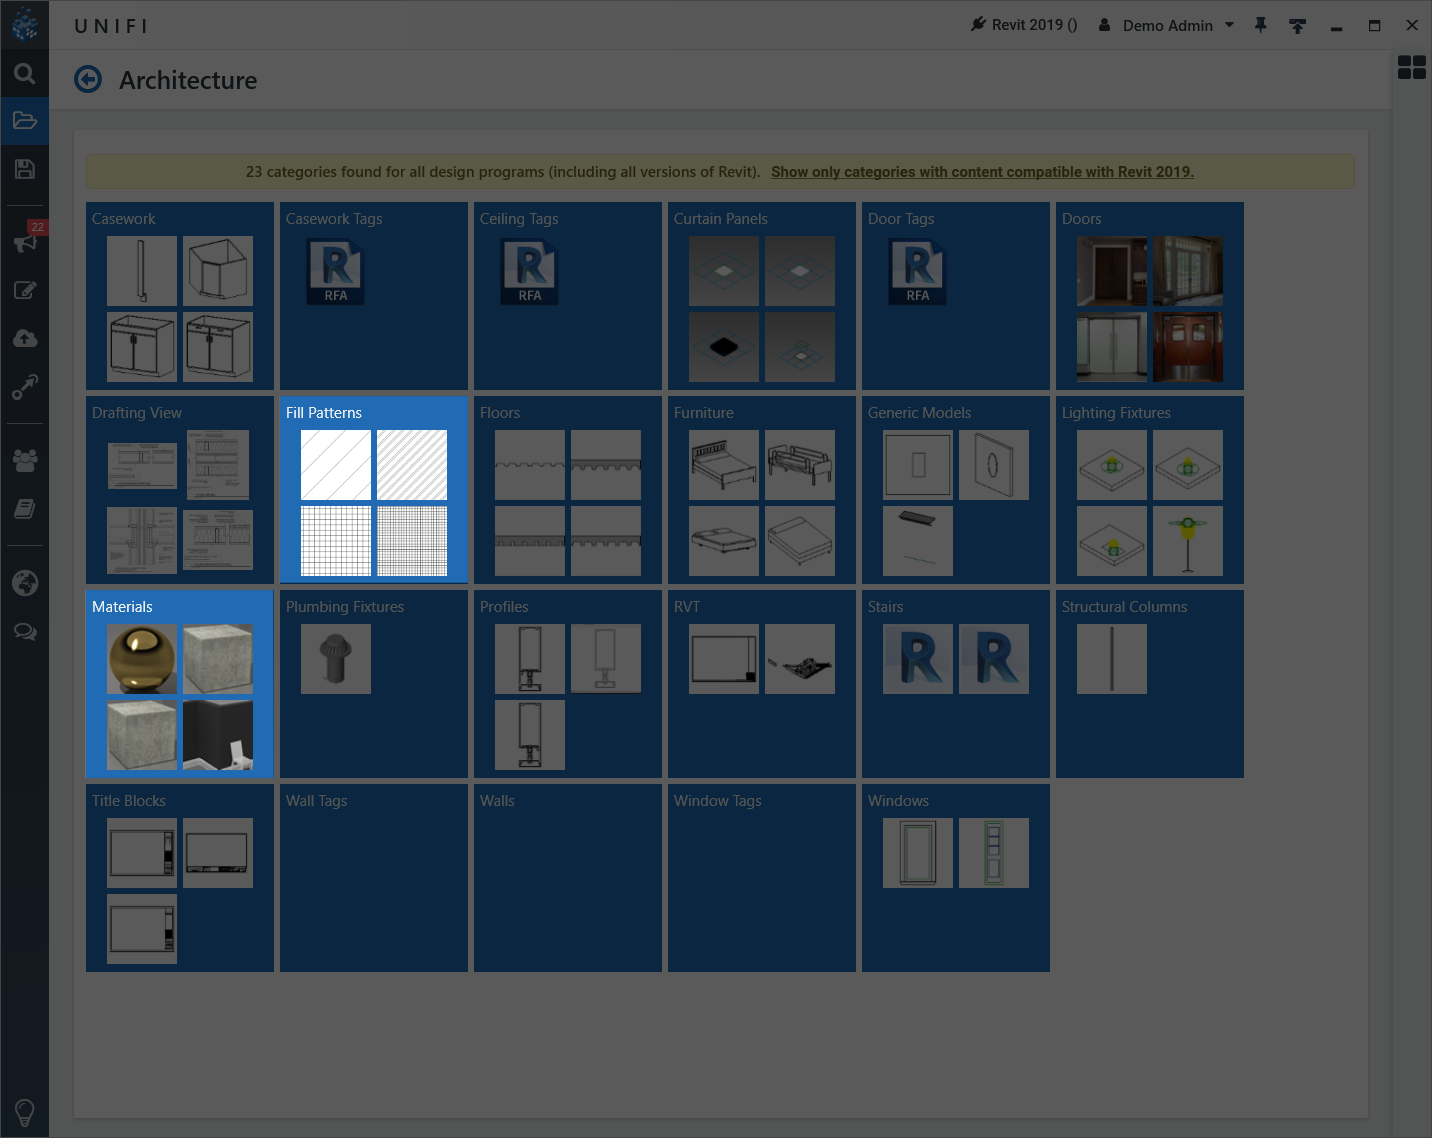
Fill Patterns In Unifi Core
The good news is, Unifi Core helps design teams access the right standard fill patterns by storing them in their libraries alongside the rest of the standard content. As of version 3.2, Unifi Core now supports the storage of fill patterns and materials! Exciting stuff.
The benefits of storing Revit hatch patterns in Unifi Core extends beyond simply providing a central repository for your standard fill patterns.
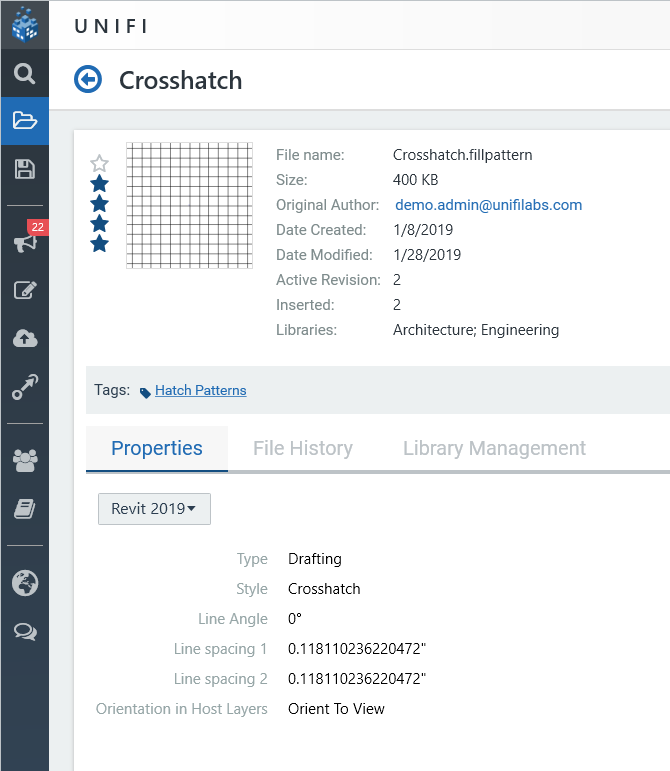
Similar to storing Revit families such as star ratings, revisioning, and the ability to review properties of the hatch pattern including the type (model or drafting), line angle, and line spacing.
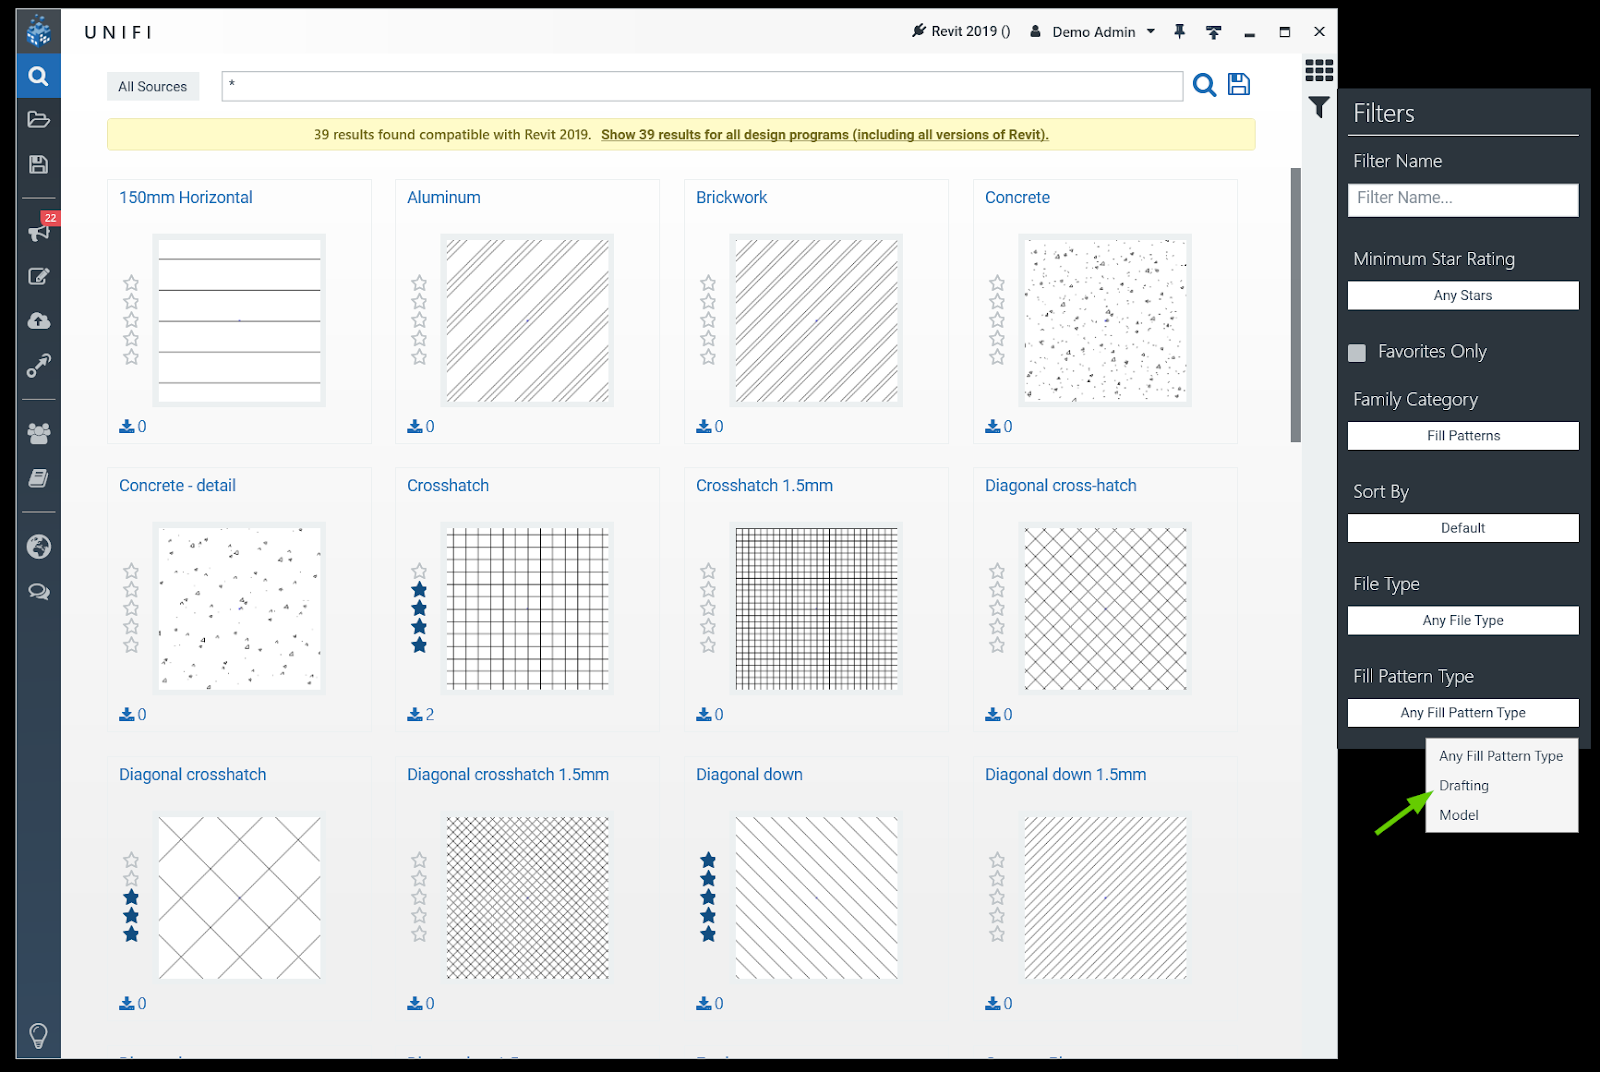
We’ve also built in some advanced filtering to help you sort through the model or drafting fill patterns while searching and browsing in Unifi Core.
Although Revit helps automate a lot of the best practices in computer aided drafting, Revit hatch patterns are still something that need special attention. I hope this post gives you a better understanding of how they work in Revit as well as how Unifi Core can support your efforts in providing standardized fill patterns to your team.